I'm taking my time, trying not to get overwhelmed. This
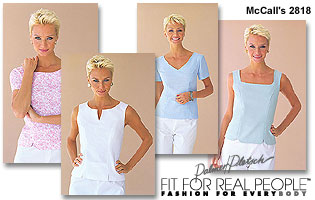
Palmer-Pletsch pattern included fitting instructions and I also refererred to these books:
I find, not surprisingly, that I'm understanding more about fitting the more fitting I do. I look forward to the day that I get a well-fitting garment that doesn't take days to fit and finish.
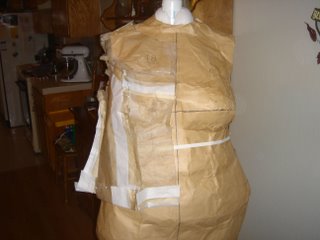
After hours of alterations and tissue fitting, here's how the tissue looks after:
1. Full bust adjustment a la Fit for Real People (I didn't use the
Sandra Betzina method after all)
2. Forward shoulder adjustment
3. Horizontal tucks at backwaist for swayback
4. Horizontal tucks at center front for petite adjustment at chest and waist
Tissue fitting reveals the need for these additional adjustments:
5. Bust needs to be lowered
6. Front princess seams need to be moved closer to bust apex
7. Increase horizontal tuck at chest--this made it more of an angled tuck.
7. Front centerline needs to be filled in with tissue to create a straight line.
8. Horizontal tuck at upper back for petite adjustment
Also, I don't need the extra room I added at the side seams
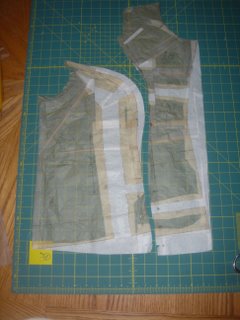 Front pattern pieces after adjustments.
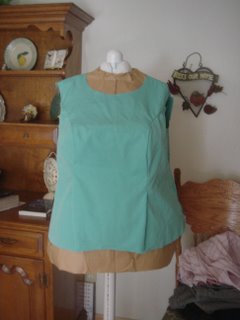
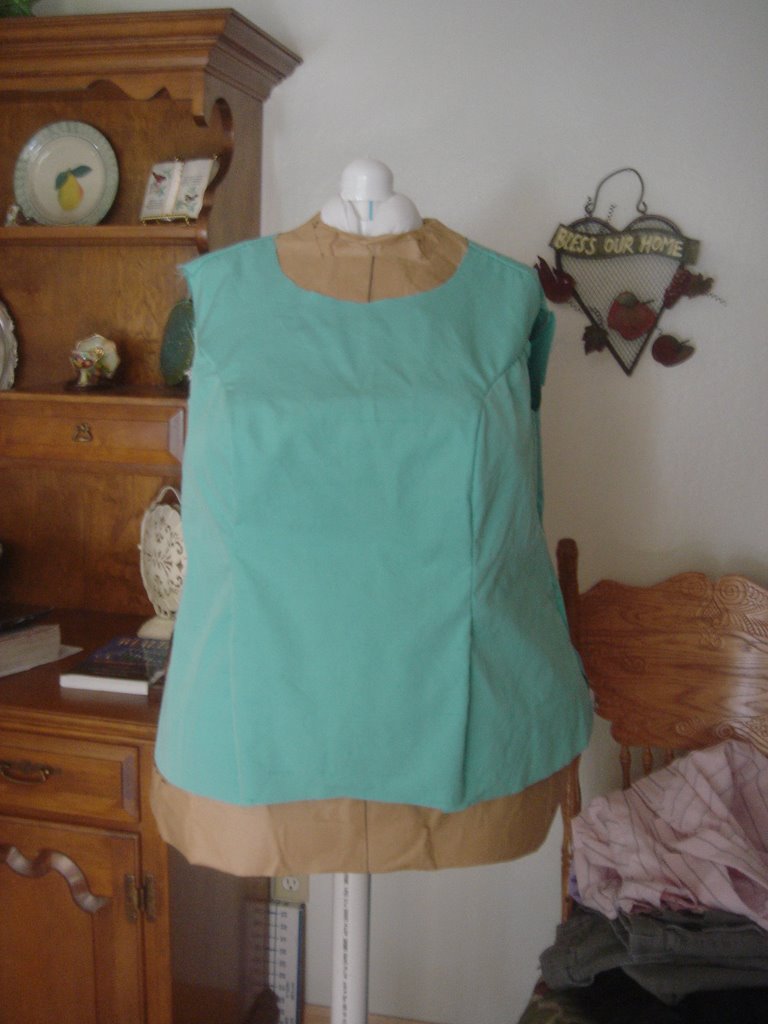
Hours later, first basted fitting. Not done altering! Still need:
9. Shape a little under the bust (can do this on the fly--won't make changes to pattern)
10. Sloped shoulder adjustment
11. Let the side seams at the out by about 1/4 inch
12. Let the front and back princess seams out by about 1/4 inch below the waist.
I tried it on after making those last alterations and by golly it seems to fit! I
may need to lower the armscye but it's hard to tell. I won't make any more changes until I've basted the facing in.
Now for the facing. the back facing uses the main back pattern piece, which has already been altered, but the front facing is going to need adjustments to match the altered front. I don't even know where to start so I'll just jump right in & start tucking, taping and adjusting the facing piece until it corresponds with the main pattern.
The weather has turned warm and I'll be glad to have this shell. Normally I wouldn't consider a sleeveless design 'cause I'm blessed with large upper arms. But, hey! It's hot outside, and they're
my arms. I didn't want to mess with sleeves while I learned to fit a princess-seam design. I can wear it under sweaters at the air conditioned office I can use this pattern as a shell under jackets and for twin-sets. And I might even wear it alone occasionally just to feel the warm breeze on my arms. I can't wait to get it finished!

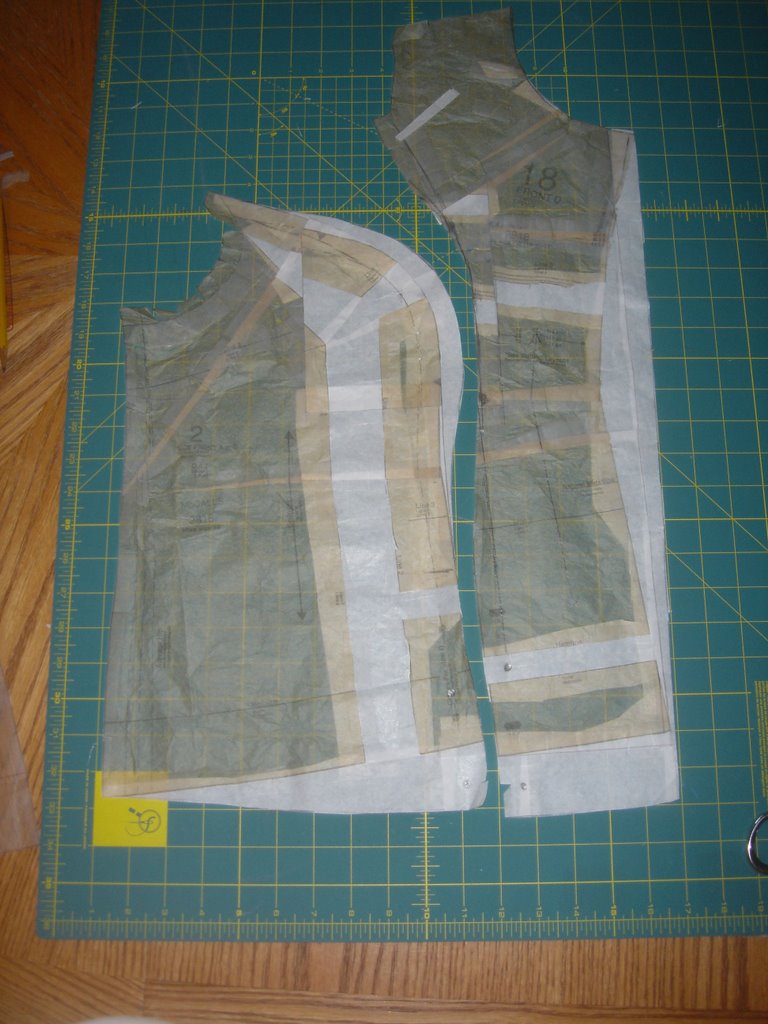 Front pattern pieces after adjustments.